
Introduction to JupyterLab
JupterLab Install Guide
Prerequisites:
This guide walks through the installation and configuration process for JupyterLab.
- Verify that the Anaconda dev environment is activated
- Install JupyterLab
- Launch JupyterLab
Install JupyterLab
- Update the Anaconda environment to ensure the latest packages are installed.
conda update conda
conda update anaconda- Activate the Anaconda dev environment.
conda activate dev- Install JupyterLab using the
conda installcommand.conda installwill connect to the JupyterLab GitHub repository, namedconda-forge, and download the JupyterLab package.
conda install -c conda-forge jupyterlabLaunch JupyterLab
- Execute the JupyterLab launch command from the Anaconda terminal.
jupyter lab- The JupyterLab UI should open automatically. If it does not, copy and paste the URL provided in the Anaconda terminal into an internet browser.

Explore JupyterLab
Take note of the following components of the JupyterLab interface:
- File Explorer
- Launcher
- Python Notebook
- Terminal
- Text File Kernel
JupyterLab Launch Guide
Launch JupyterLab
jupyter lab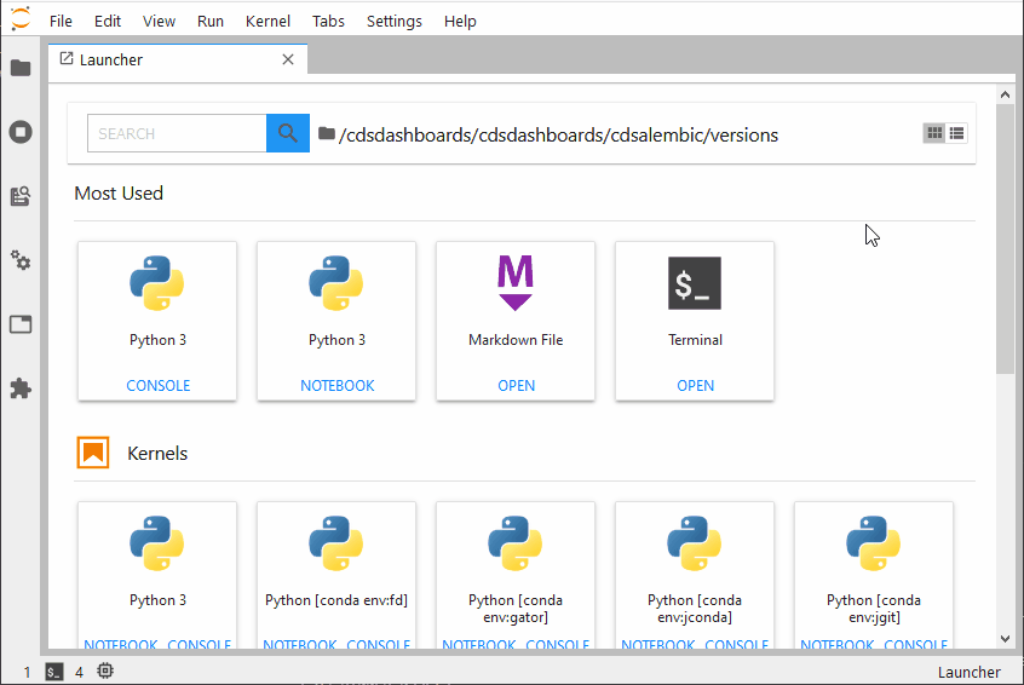
Highlight the JupyterLab launcher. Point out the available extensions.
- Open a Python Notebook
- Open a Python console
- Open a text file
- Open a terminal
- Create an empty file with the terminal
- Create multiple launchers
Demonstrate the integration between JupyterLab File Explorer and the file system.
- Navigate to a folder in the File Explorer, and open a text file
- Create a file called
hello_world.txt - Choose ‘Text File’ from the launcher
- Create a a directory called
JupyterLab-Workspace - Click the new file button on the left-side window
Create a notebook for Python development.
- Click Python3 under the Notebook section in the launcher
- Use the left-side window to rename the notebook to
HelloWorld.ipynb
Type the following code in the notebook:
print("Hello World");Click the run button on the notebook’s task bar.


